Tuesday, November 5, 2013

Camping with an Infant

This past weekend Hubby decided to switch some working days around so we could have an entire weeked together to go camping and four wheeling! (Hubby works weekends and I work his days off so it was some much needed family time)

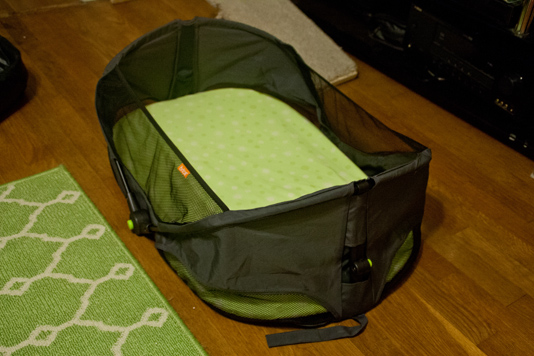
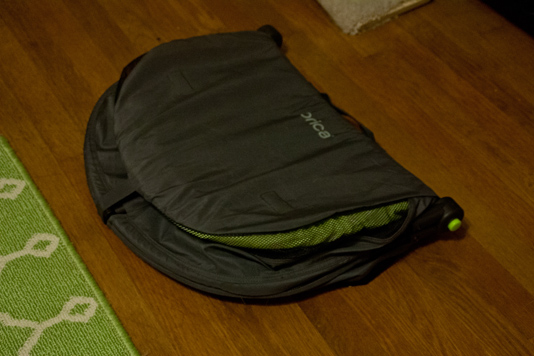
Packing for ourselves wasn't that hard but for Kay I had an bag filled with cloth diapers (all the new Kawaiis!), a pack-n-play and a travel bassinet

IMG_1266

IMG_1268 IMG_1269

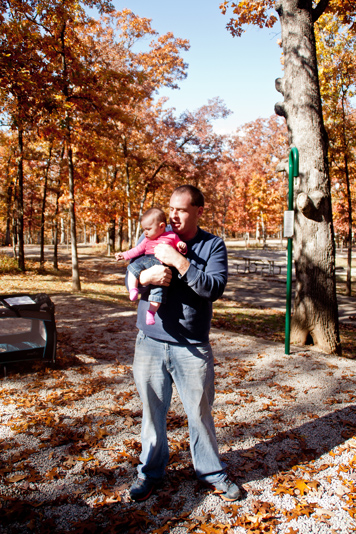
We headed down to St. Joe State Park around 11pm with a passed out Kay in the back seat. She slept the entire hour and a half ride down!

Some friends came along and brought their pop-up camper with them. We set Kay in the pack-n-play (with Juno keeping guard) and got everything settled.

sm_IMG_1305

sm_IMG_1276 sm_IMG_1274 sm_IMG_1278

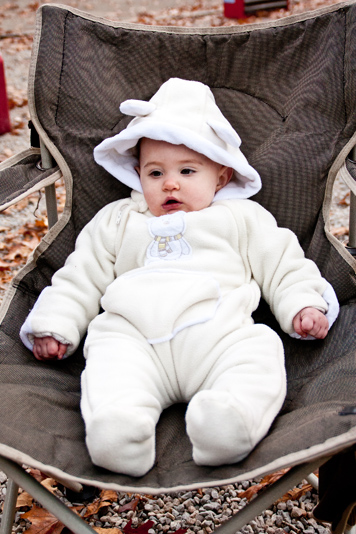
Hubby, a friend and I went out riding the four wheelers while our other friends watched Kay, but it turned out to be a short trip since one of our four wheelers broke down (womp womp) So back we went. It was getting colder so I pulled out an adorable snow suit type thing for Kay to keep her warm while we all sat around the fire.

sm_IMG_1281 sm_IMG_1283 sm_IMG_1292 sm_IMG_1289

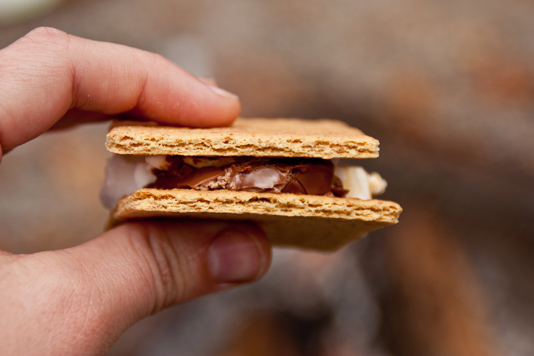
The next day was chiller than the first, but we started out with an awesome breakfast and possibly some leftover s'mores

sm_IMG_1312

Hubby and his buddy took a morning ride while the rest chilled out at camp.

sm_IMG_1309 sm_IMG_1311 sm_IMG_1310 sm_IMG_1308 sm_IMG_1307

My friend and I had an impromptu photo shoot with Kay since we couldn't get over how cute she was in the bear suit!

sm_IMG_1310 sm_IMG_1316 sm_IMG_1327 sm_IMG_1322 sm_IMG_1318

The rest of the day was pretty uneventful - we packed up camp and headed down to the ATV parking lot for the rest of the day, then headed home when it started to get dark.

All in all it was a fun trip! Before Kay was born we had a few more camping trips planned but they all fell through. I'm glad we were able to get at least one

Monday, November 4, 2013

Easy and Cheap DIY Minion Infant Costume

I thought I had posted this earlier but apparently not. Well, better late than never!

I have been thinking about what I wanted Kay to be for Halloween for quite a few months now but suddenly Friday I suddenly realized Halloween was less than a week away and I had absolutely no idea what I wanted her to be.

After wandering through the local Spirit costume store when friends before going out to eat I came to two conclusions. One: Kay will be a minion,  and Two: Costumes are EXPENSIVE!! I have loved the Despicable Me movie since it came out and Hubby thinks its funny that I quote it from time to time ("It's so fuzzy I'm going to DIE!") so it seemed like a perfect idea.

sm_IMG_1271

For this  easy home-made minion costume, you will need:

1 white COTTON long sleeve onesie (I had mine on hand but a 4 pack is around $7)
a pair of white COTTON tights (around $3)
A jean skirt (already owned one)
1 sheet of black and white construction paper / cardstock (free from work but craft stores sell them for about $1 a sheet)
Black felt OR a thick black headband (already have one)
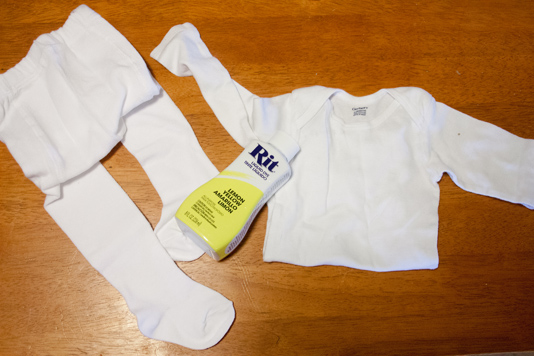
1 package or bottle of Rit Dye in Lemon Yellow (around $3 for a bottle)
Tape & scissors
Optional: Hot glue, Black fabric paint
Cost me only $6!! (I would think it would be around $15-20 if you didn't have anything on hand)

IMG_1230
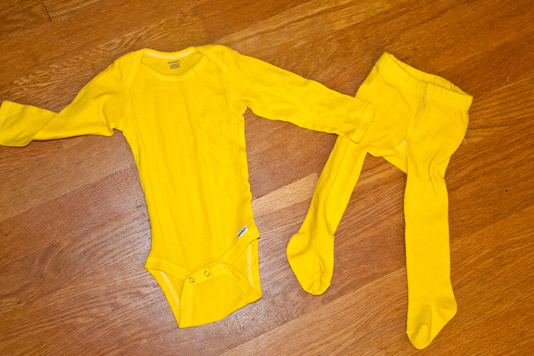
I couldn't find a onesie and tights in yellow so my first step was dying the onesie and tights with the Rit Dye. If you found them in yellow, you can skip the dye all together. Rit dye only works with cotton fabric so make sure that the clothes are cotton!

IMG_1234

You can follow the directions on Rit's website for dying the clothes but since it was only two small items I used half a bottle of the dye (just to make sure the color took) with 1½ gallons of hot water on the stove between medium and low heat. It's suggested to add some salt to the water to help the color set. I didn't measure, just poured some in.

IMG_1234

You want to get the onesie and tights nice and wet with warm water before you put them in the dye, then stir on and off for a half hour. Finish with cold rinse and hang dry.

IMG_1235

If you want, you can use black fabric paint to paint Gru's logo onto the shirt but I wanted to be able to reuse the shirt later so I decided not to do so.

Next is the goggles!
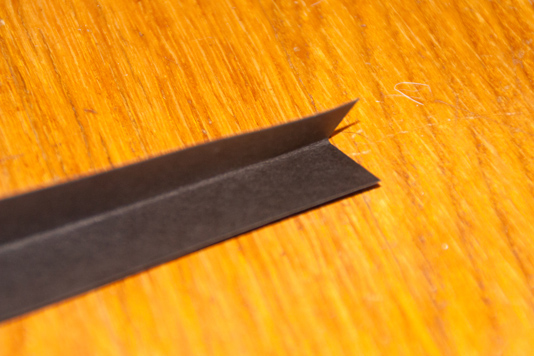
Out of the black construction paper cut one strip (or two if you want your minion to have two eyes) about 1½ inches wide. The length really doesn't matter - the longer the strip the bigger the goggle(s) will be.Fold the strip in half long ways (hotdog bun style, if anyone remembers that!)

IMG_1238

Every so often cut a small section halfway up the strip, stopping at the fold line. This will help keep the goggle together and give the white eye part something to adhere to.

IMG_1240

Tape the ends together, fold the tabs inside and tape them as well.

Next, out of the white construction paper carefully trace your goggle and cut it out to get the white eyeball. Tape it to the inside of the goggle.
Cut another smaller circle out of the black for the iris and tape that to the white.

IMG_1244

If you have a headband you can just attach the goggles to the headband (either with tape or hot glue, whichever you prefer) If you went the felt route, cut a strip long enough to fit snuggly on your child's head and glue (or sew if you want to) the ends together and attach the goggles.

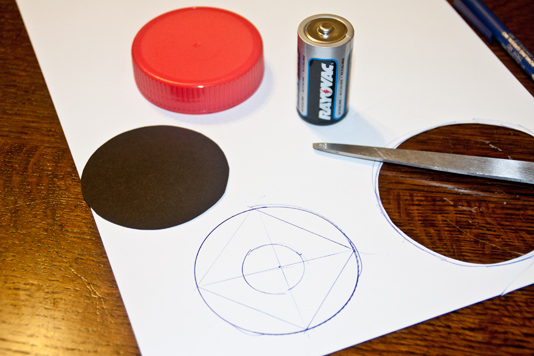
Last minute I decided to make Gru's logo out og tthe construction paper. You will need two round items to trace, one about half to a quarter of the size of the other. I used a peanut container lid and a D battery. Use the larger item to trace a circle on the black and the white construction paper. Cut out the black circle.

IMG_1246
For the white, find the approximent center and draw a dot. Using that dot, make a line going through the center of the circle, both horizontal and vertical. Now usng the lines, make a square.

IMG_1247

Now, note that since you don't want the side you are drawing on to be showing you will need to reverse Gru's "G" on the logo. (I didn't do  this right and mine isn't correct but I'm hoping nobody notices!) Mark the sections to cut out and cut!

IMG_1250

Tape the white to the black and you have your logo!

IMG_1252

I just taped it on Wiggle's shirt for photos since I knew it wasn't going to stay on the whole time.

Ta Da! You have an adorable minion of your own!
sm_IMG_1272

Sunday, October 27, 2013

Kawaii, Fuzzibunz & Swadlebee/Blueberry - One week review

I have been using my new diapers for about a week now and here are my thoughts so far

Kawai
   IMG_1225 IMG_1226 IMG_1227 IMG_1229
Original One-size in Persian Green and Snazzy Minky One-size in Glossy Green
Kawaii diapers come with two large inserts that are perfect for nighttime. These are actually what I put Kayleigh in at night and she has only had one small leak (she is a very heavy nighttime wetter)

They fit Kay pretty well with either both inserts or just the one - nice and tight around her top and legs without being too tight.
My only complaint is that the covers take longer to dry than the others for some reason. I'll think they are dry and start to stuff them but when I put my hand inside it is still damp. Not a huge minus but it sucks if I'm trying to get the diapers done quickly.

Swaddlebees/Blueberry
IMG_1217 IMG_1216
Simplex 2.0 All-in-one Size Medium in the Owl PrintThis is by far my favorite print. I love owls and they somehow became Kay's 'theme'. I actually bought this diaper just because of this print. I'm really glad I did too because right now it is my favorite out of the four. Kay is only around 13 pounds at 5 months and is a pretty trim little girl. This diaper on the smallest tabs fits her like a glove! I don't foresee any leaks any time soon because it is just right.

My one negate is that the tabs go to the inside so since she is in the smallest tab setting she has all that extra pushing into her tummy. I don't think it bothers her, though.

Fuzzibunz
IMG_1220 IMG_1222
Perfect Size Small in Caribbean
I love the quality of the fuzzibunz but they don't quite fit Kay as well as I like. I probably could have gotten away with a x-small but that is supposed to be up to 12lbs and Kay is over that already. The waist is fine (I use the second to smallest setting) but the legs just don't fit like I would like them to. I'm sure as she gets older they will fit better.


I currently ordered 7 more Kawaii (two snazzy minky, one heavy wetter and the rest are all original) which should be here Tuesday. Althought I do like the Swaddlebees/Blueberry & Fuzzibunz, it's  not in the budget to have my entire stash be such but I will definitely be buying more, especially the Simplex 2.0s

Monday, October 21, 2013

Trip to the Arch

Saturday,  friend and I decided to take the Metrolink down to the St. Louis Arch.

We bundled Kay up, since it was chilly out, and set off!


sm_img_1130sm_img_1129


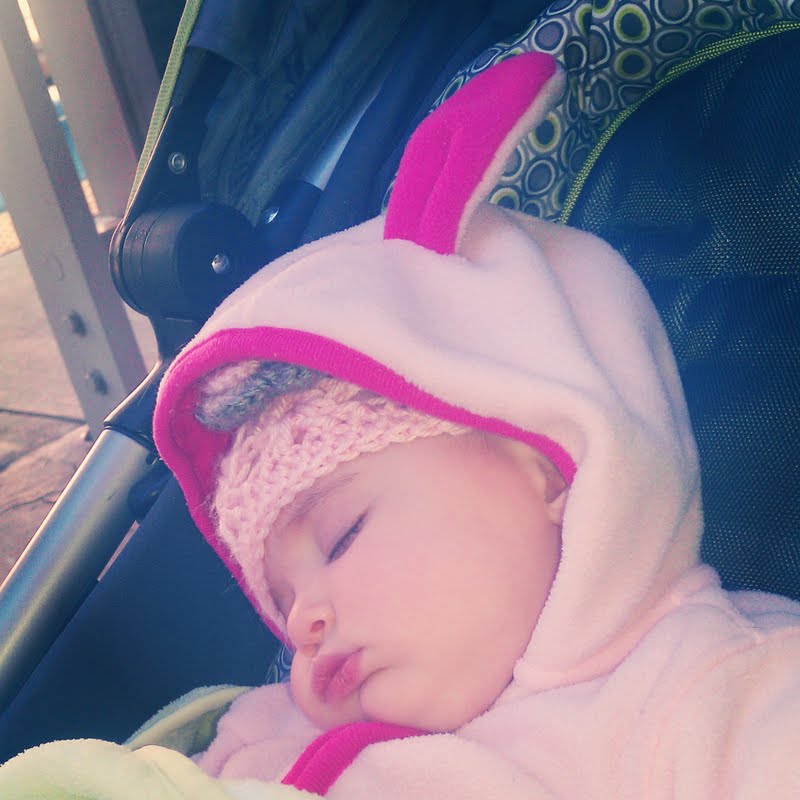
She got so many compliments on her adorable bunny jacket.


We made it to the top and of course had to get a picture at the highest point of the arch


sm_img_1137


Kay LOVED looking out the windows!


sm_img_1142 sm_img_1147 sm_img_1150


sm_img_1159


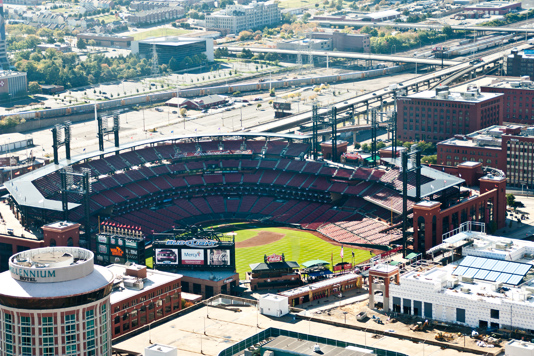
(even though I'm not a baseball fan, you always have to get a photo of Busch Stadium from the arch!)


sm_img_1140


Alas, it was time to go since someone was getting cranky and in need of a nap.


sm_img_1168


We decided to walk a few blocks to get on the Metro at the stadium stop.


sm_img_1172


sm_img_1174

(Someone was having wedding photos taken in the background. How fun!)
download


My tuckered out little bunny slept all the way from the Arch until we got off the Metro where my car was.